
Sigh. For those of us with school-aged kids, summer is almost over. For some parents, I know it may usually be a light at the end of the tunnel. For me, it’s usually a bummer. I love summer break for my kids. Usually, they get to go to some fun, cool camps for a few weeks, and for a few of the other weeks they’re with me while I am fortunate enough to work from home. On top of that, we’re all in Chicago with my family for a month while I work remotely from there, so they get to spend all day every day with their cousins and local friends. I know how incredibly blessed, fortunate, and privileged we are to get to have so much flexibility for them over the summer. I’m grateful for it every day.
But… COVID-19 obviously changed a LOT of things for a LOT of people this summer. So, many parents are stressing about their kids starting school, whether they’ll be attending virtually, in-person, or a hybrid blend. I feel you. It’s a completely different situation. I’ve been super grateful that my unexpected furlough from my full-time job has given me the gift of this extra time with my kids. It’s been truly wonderful.
A few weeks ago, I was kind of lamenting that my kids didn’t get to go to drama camp, circus camp, STEAM camp, or any camps this summer. So I spontaneously decided to turn our last few weeks of summer into “at-home summer camp” themed weeks. I promised myself I’d keep it super simple, and two weeks in I’ve kept to that promise (hooray!). Our first week was Christmas in July, and it was fantastic.
This past week, we chose a family favorite for our theme: The Greatest Showman. Like I said, we kept it super simple – and we even shortened it to a four-day week since the kids were acting up a little bit on Monday so I cancelled camp for that day {real life, amiright?}.
Here’s what we did for the week – I hope it inspires you for your own fun-at-home, whether it’s a Greatest Showman themed day, weekend, or quarantine-crew party!

My Approach
First, when I say I wanted to keep these at-home “camps” super simple, I really mean that. We didn’t make it an all-day thing. We usually just do ONE fun thing each day. Could I have figured out a 4-6 hour daily schedule? Sure. But that would have taken a LOT of work, my kids probably would not have lasted the week, and it’s not really what my goal was in creating these mini camps. I just wanted to do something fun with them during their last few weeks of summer break.
So, you can absolutely take these ideas and plus them up a bit if that’s your thing–I bet it would be super cool! It’s just not what we chose to do.
I try to have variety in each of these at-home summer camps with some learning, fun with food, crafting & activities, and performing. Check out our Pinterest board for the ideas below and more!
Overall
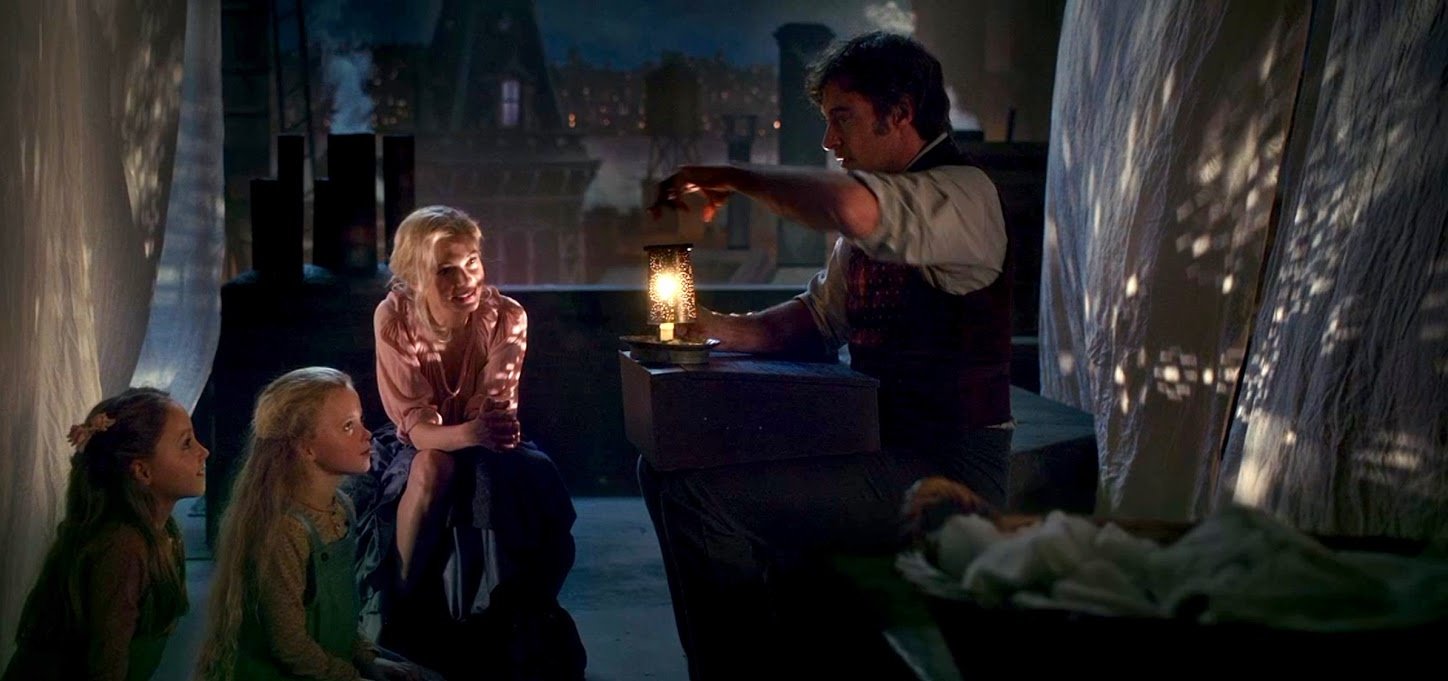
We pulled out our mini pop-up circus tent and set it out in the living room for the week. The kids enjoyed playing in there off and on throughout the week. My daughter happened to get an incredible doll-sized circus stage and Anne Wheeler doll (Zendaya’s character) for Christmas two years ago from Santa Claus (and then she got a Phillip Carlyle doll last year (Zac Efron’s character), also from Santa), so Anne & Phillip and the stage were in the tent most of the week.

Of course, we watched the movie to help get us into the Greatest Showman spirit. At first I thought we’d watch it as a celebration of sorts at the end of our week, but the kids wanted to watch it on Day 2 so we did. (Did I mention, these at-home camps are all about flexibility?) Anne & Phillip watched the movie alongside the kids, and my daughter wore her Anne Wheeler costume from a previous Halloween.

Learning
I wanted to include at least a little bit of learning in each camp, so for this week we learned about the real P.T. Barnum on Day 1, and on Day 2 we learned a little snippet about 8 different characters from the movie versus who they were in real life. We used this CBS segment for our Barnum lesson, and this article from Hollywood Reporter for the side-by-side comparison of the real people who inspired the characters in the film.
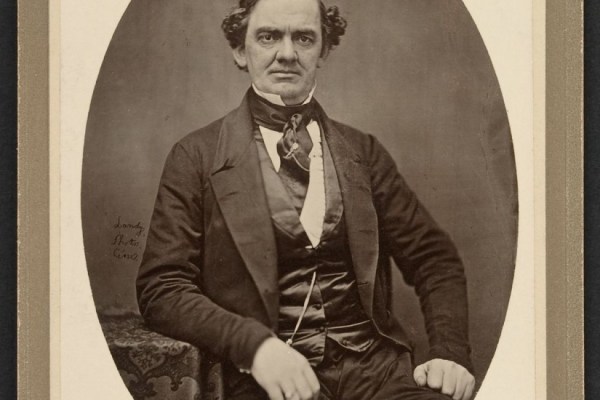
(Just a heads up: There are actually only 6 real life characters that the article covers–since 2 of the 8 are fictitious–and we had to look up a photo for two of the real characters, since their pics were not included in the article. But it was still a great snapshot of who they were and the kids loved the side-by side comparison. Also: for some reason, Pinterest isn’t letting me pin the article we used to learn about “The Bearded Lady,” but I wanted to include it for you here.)
Baking & Food
We had a circus-themed lunch of hot dogs and chips on Day 1.
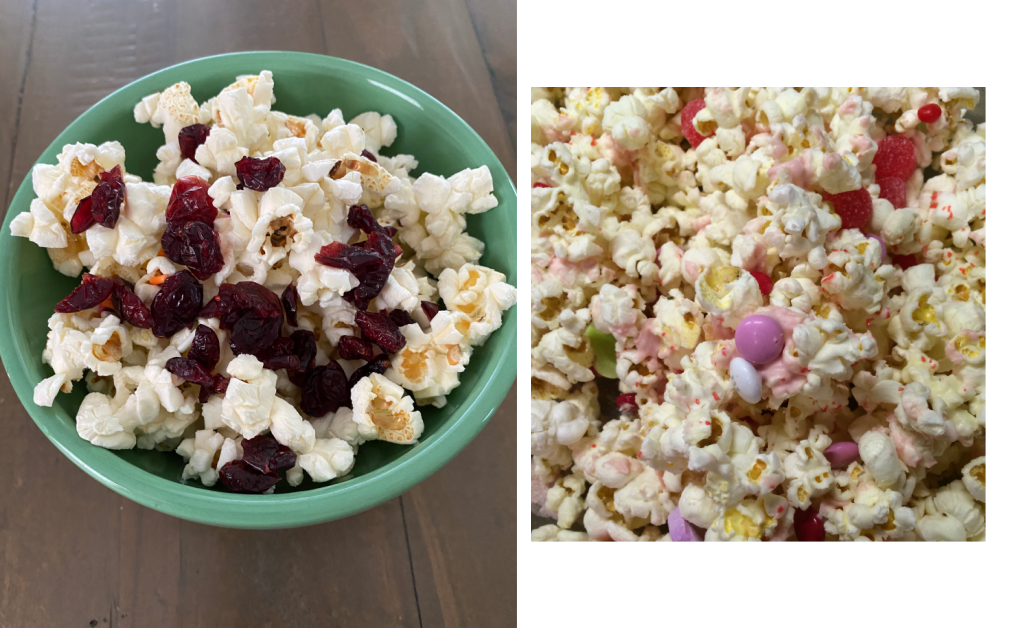
On Day 2, we had a special treat of M&M popcorn, which is always a hit. However, I didn’t remember to take a photo (and apparently have never taken a photo from any other time we’ve made this treat). So here’s some cranberry popcorn and candy-sprinkled popcorn we’ve made to gaze at instead 🙂
One of our two “big activities” for this camp was making animal cracker cookies. This was super fun and they turned out very yummy! We used this recipe and bought these adorable stamping cookie cutters. They were PERFECT and fun to use!

TIPS:
- We found this recipe to be a bit on the crumbly side, even after adding almost an extra tablespoon of butter to help hold the dough together. It was crumbly before refrigeration, and also when cutting out the cookies. We smoothed the rolled-out dough together a bit as needed.
- The recipe made about 100 cookies! Of course, they are tiny cookies, but that was a lot of cookie cutting for the three of us.
- Sprinkle flour on top of the rolled out dough and rolling pin to prevent the dough from sticking to the pin and help the cookies hold their shape
- We figured out that it actually was to our advantage when the dough stuck inside the cutter after cutting and stamping it. It made it so we could just gently “push” out the cut cookie (directly onto the cookie sheet) using the spring-action stamping mechanism.
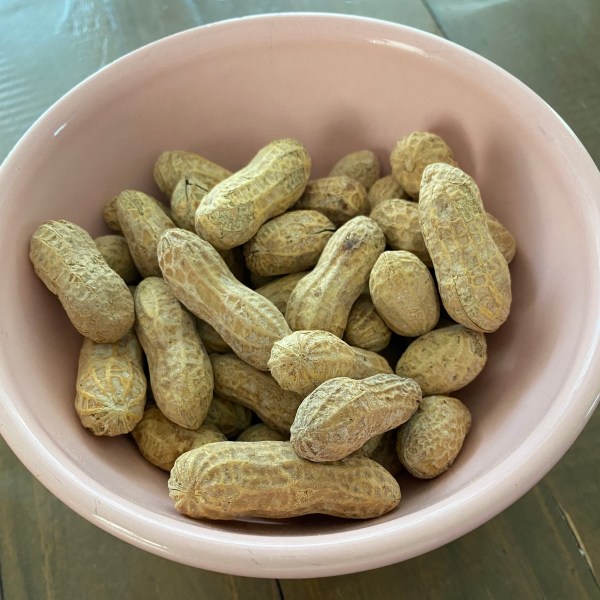
We closed out our camp on Day 4 with a snack of unshelled peanuts, something the kids had never had before. My son LOVED breaking them open, and he thought they were delicious. My daughter is not a huge fan of nuts, so she tried one and decided that was enough for her.
Crafting & Activities
Coloring pages are always a hit, so I printed out a few for the kids on Day 1. Check out some options on the Activities section of our Pinterest board.

My daughter also transformed some of her dolls into Greatest Showman characters–here’s Merida as Jenny Lind, courtesy of some clever use of tissue paper :).

I had Pinned a few different craft ideas, but the one I knew we were for SURE going to do was to create our own “wishing machines” like in the movie!
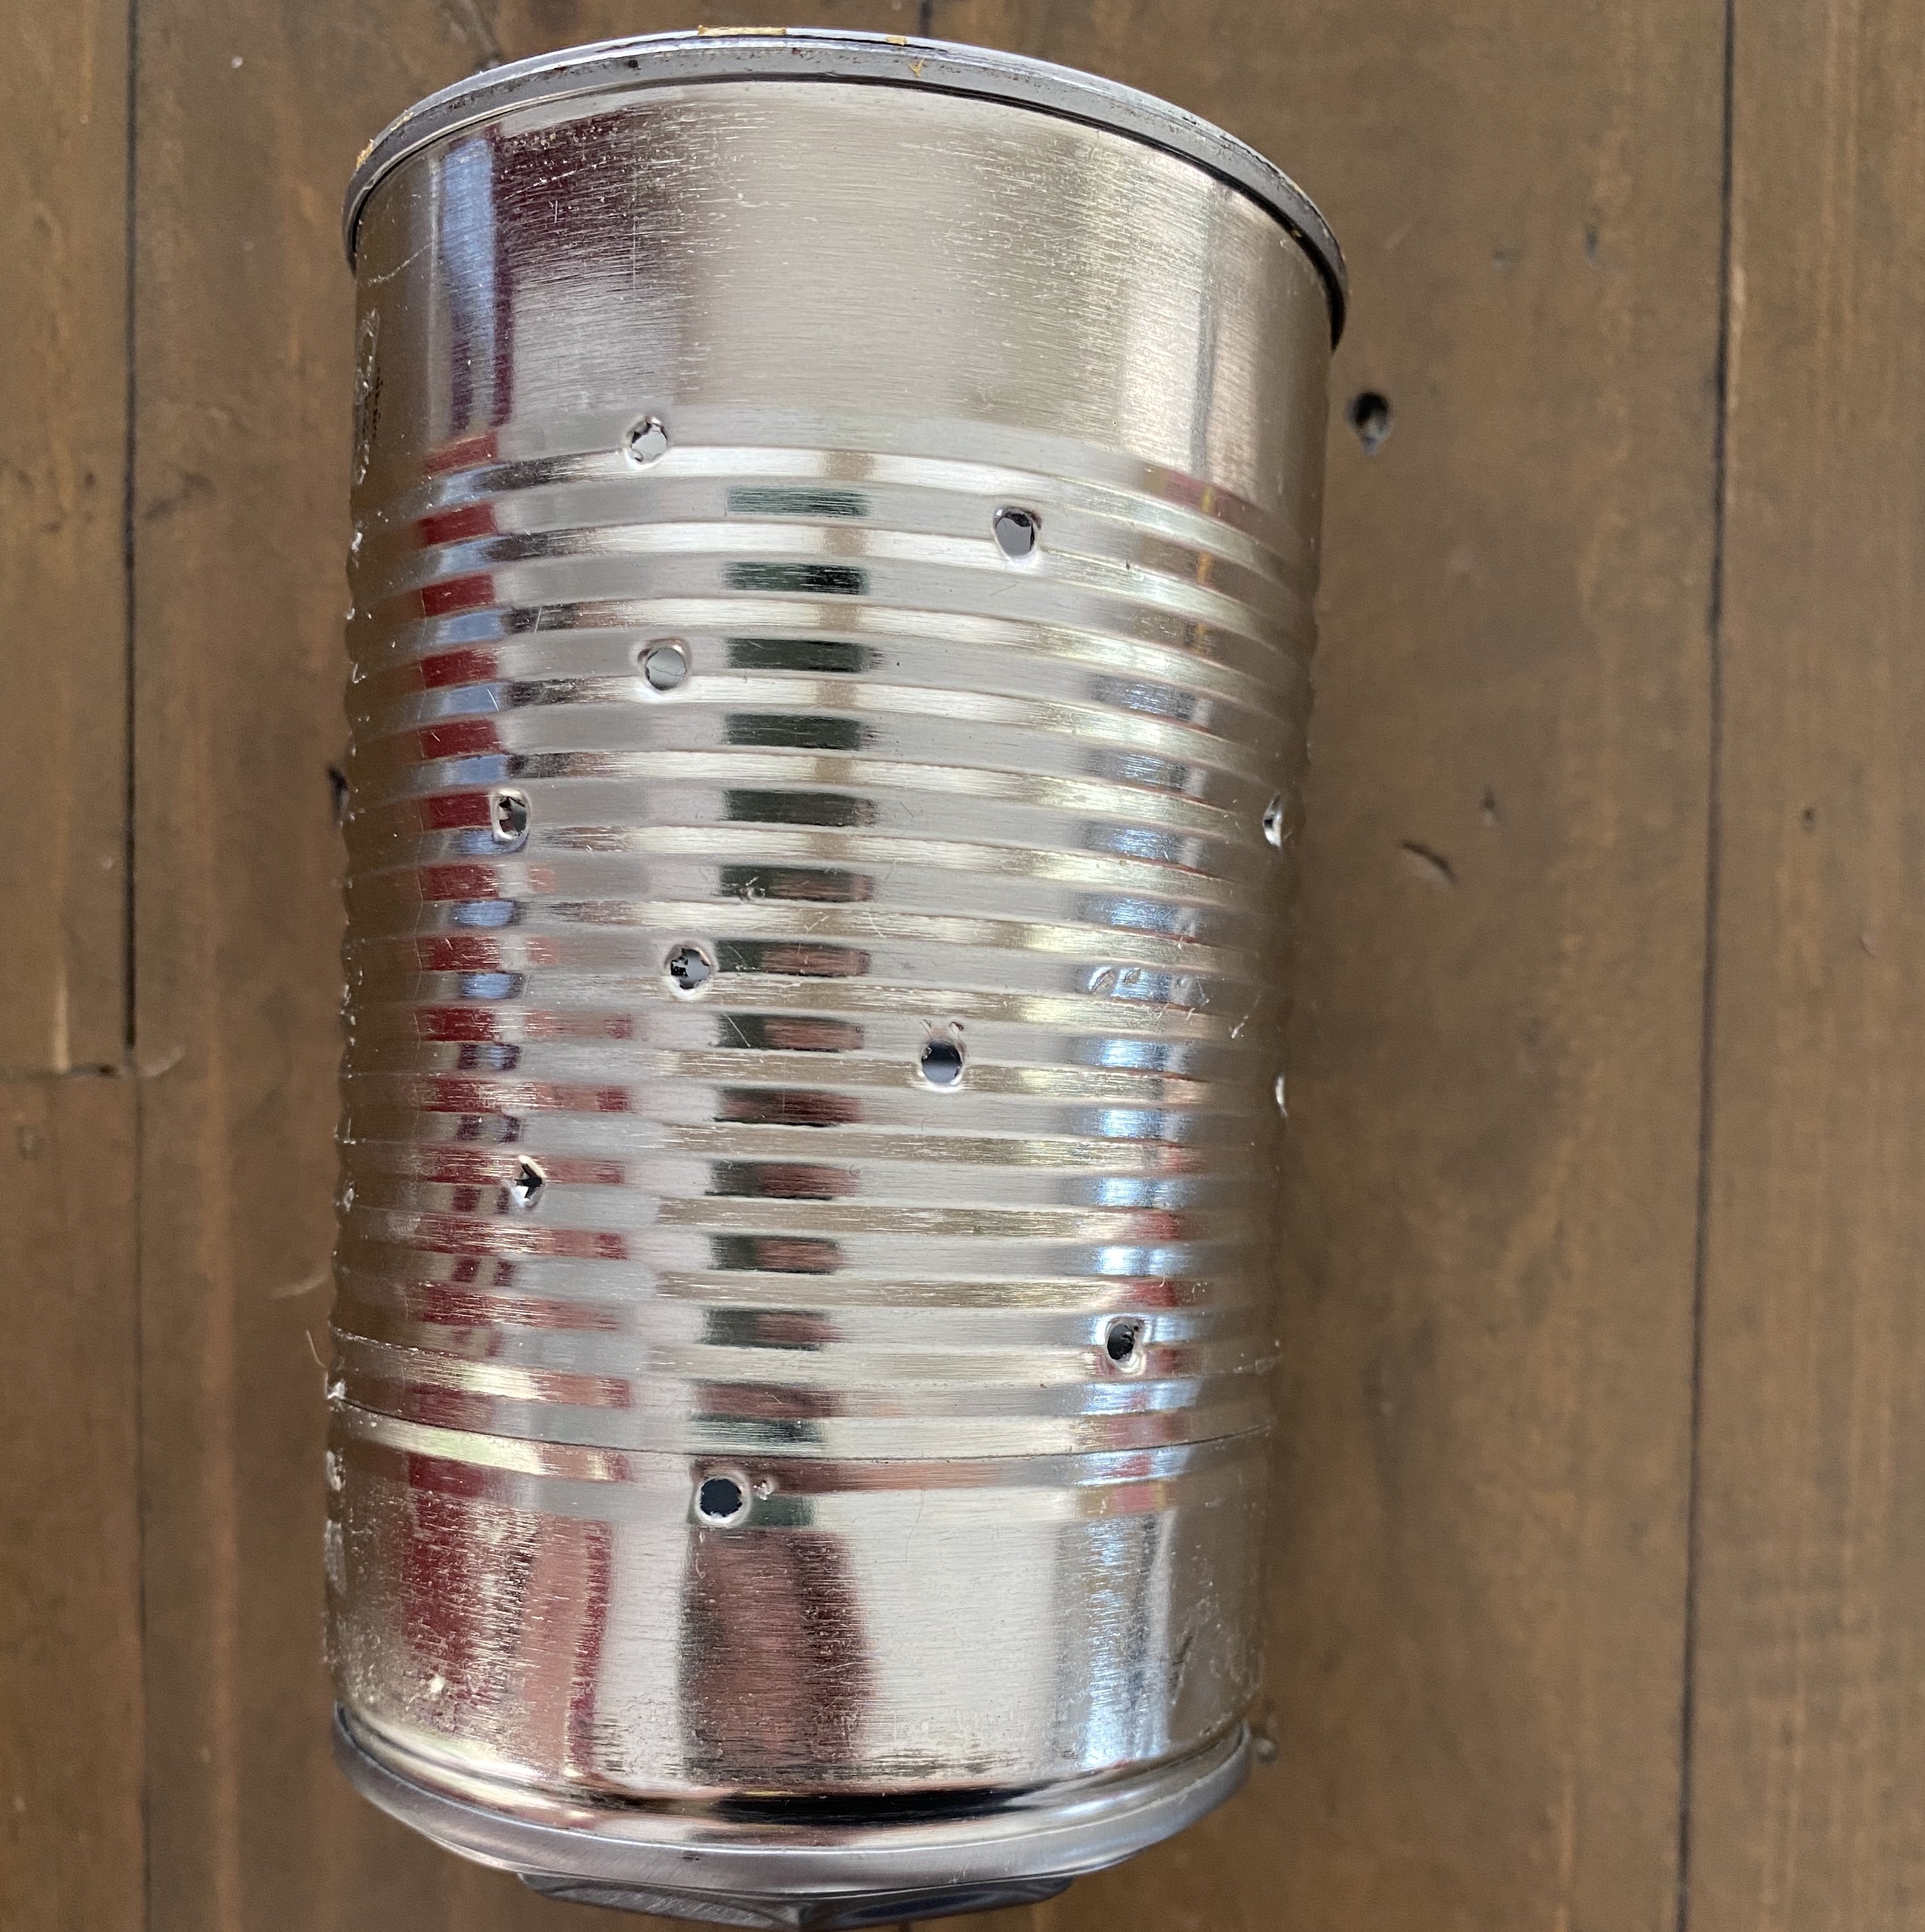
The kids were SUPER excited on Day 4 when I told them we were doing this. And I was really surprised at how quickly it went–it only took them about 20-30 minutes to create their tin can lanterns.
I had been setting aside tin cans for awhile for a project I want to do, so I took three of them, filled them with water, and froze them overnight. This is to create a solid base for you to work with so you don’t dent the can when hammering the nails into it.
We did have one mishap: one of the cans burst at the seam. I had no idea that might happen (?!), but I was glad I had frozen three–I just opted out of creating my own (for now), and the kids each had one to use.

We laid dishtowels around the cans in a U-shape to help keep it from rolling around too much. I grabbed a few different nails, and the kids each used their little hammers they have in their kiddo toolboxes and got to work. My son decided to wing it with his design, and my daughter drew out a pattern on paper and then taped it onto the can as a guide. (I’ve read you can also use a marker on the can, but that didn’t work well for us with the frozen cans.)
That’s it! Here are their finished tin lanterns:

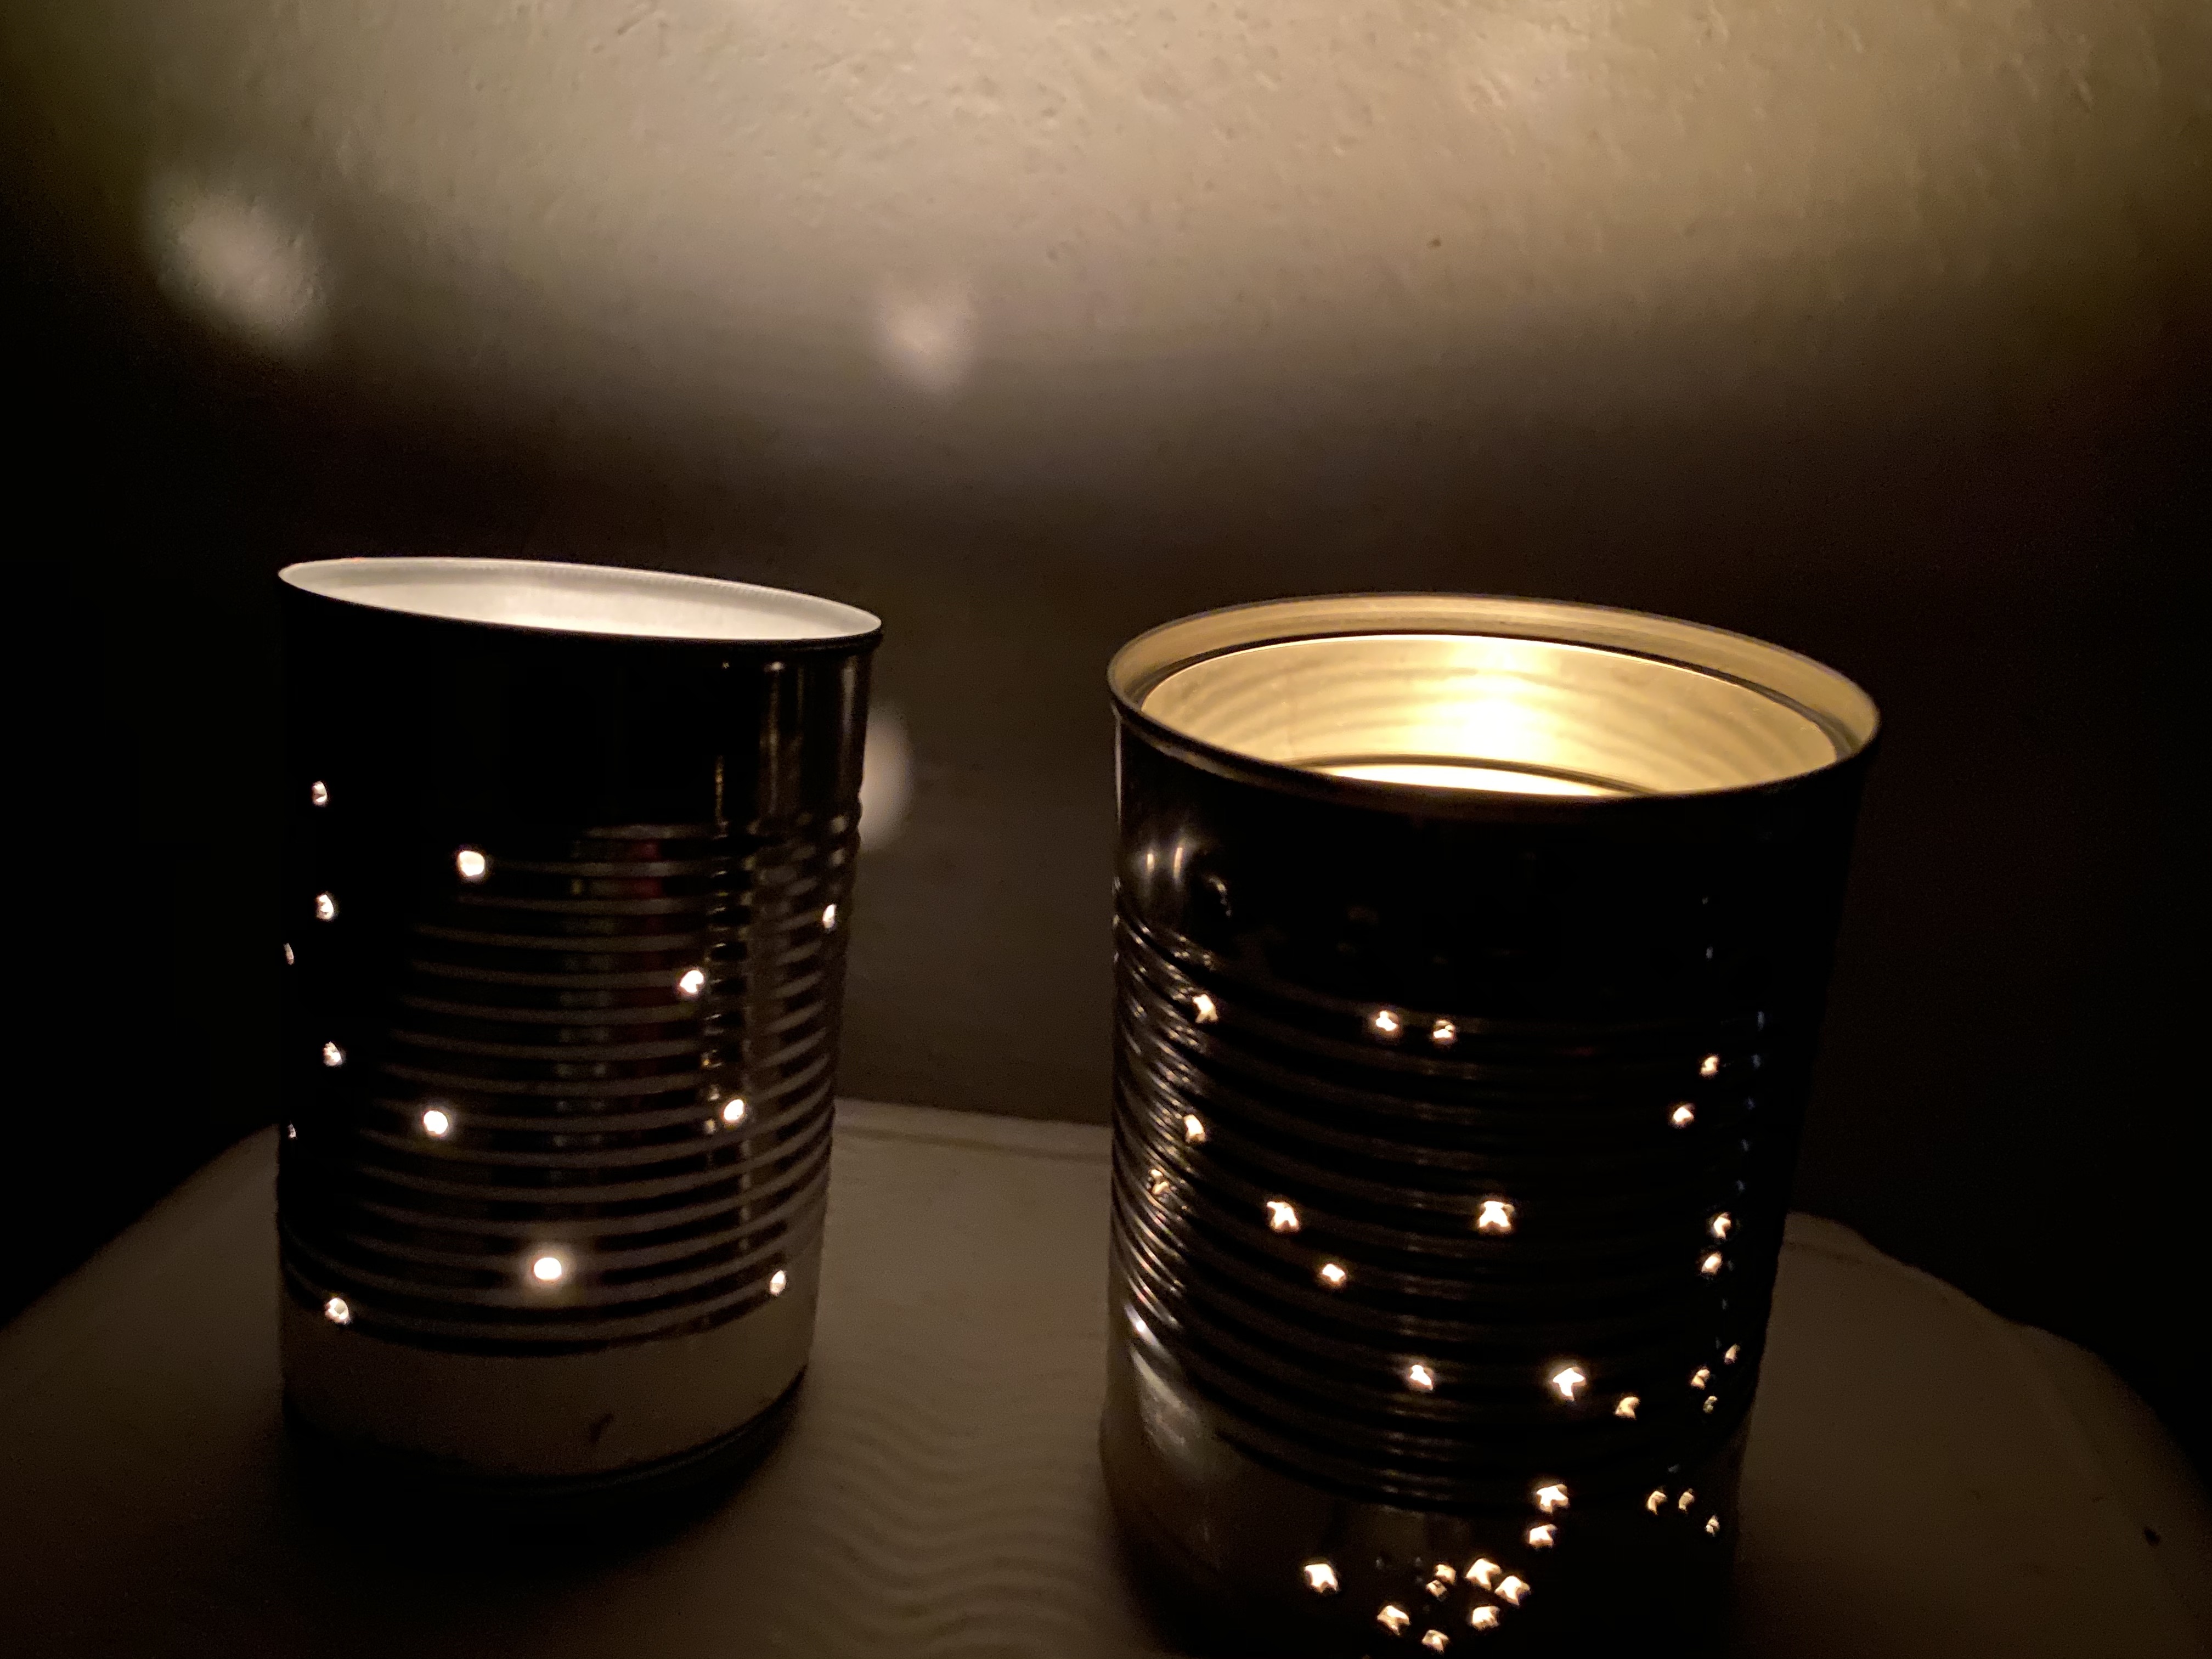
And here they are with a tea light inside – so cool!

- You can invert them onto a wooden dowel to let them spin
- You can plan out a design or just wing it, they will all turn out great!
- We are going to get fairy lights to put inside (instead of tea lights, so they are safe to be in the kids’ rooms)
- I’ve read that they may eventually rust if they don’t get painted
- UPDATE 1 – Lights: The fairy lights turned out AMAZING in these! I HIGHLY recommend you get some instead of a tea light/candle. Check out the new pic below!
- UPDATE 2 – Safety/Sharp edges: I used a “smooth edge” can opener that I bought 2 years ago (specifically for this project) when opening the cans to minimize the possibility of accidentally cutting ourselves when creating and using these lanterns. But beware, the inside of the can will have some sharp edges where you hammered the nail through to create the holes.

The fairy lights make such a huge impact!
Performing
I had planned for all of us to learn a dance routine (check out these fun tutorials on our Pinterest board!). We had decided on “This is Me.” I was pumped. But midweek, we received a video lesson from my daughter’s dance teacher, which took away a bit of her interest/attention/time, so we scrapped it. {Did I mention this is all about flexibility?}
So, maybe someday we’ll learn the dance. I think it would be super fun to do, and the tutorials we found seem really great. Be sure to check them out if you’d like to learn some cool moves to impress your friends at your next Zoom dance party!
Which of these ideas are you excited to try for your next circus- or Greatest Showman-themed celebration? I’d love to know!

One thought on “Greatest Showman: At-Home Summer Camp”